From Clay to Ceramic: What Firing Changes
From clay to ceramic, understand what firing changes inside the body, separate clay defects from glaze flaws, and make a better-informed next decision.
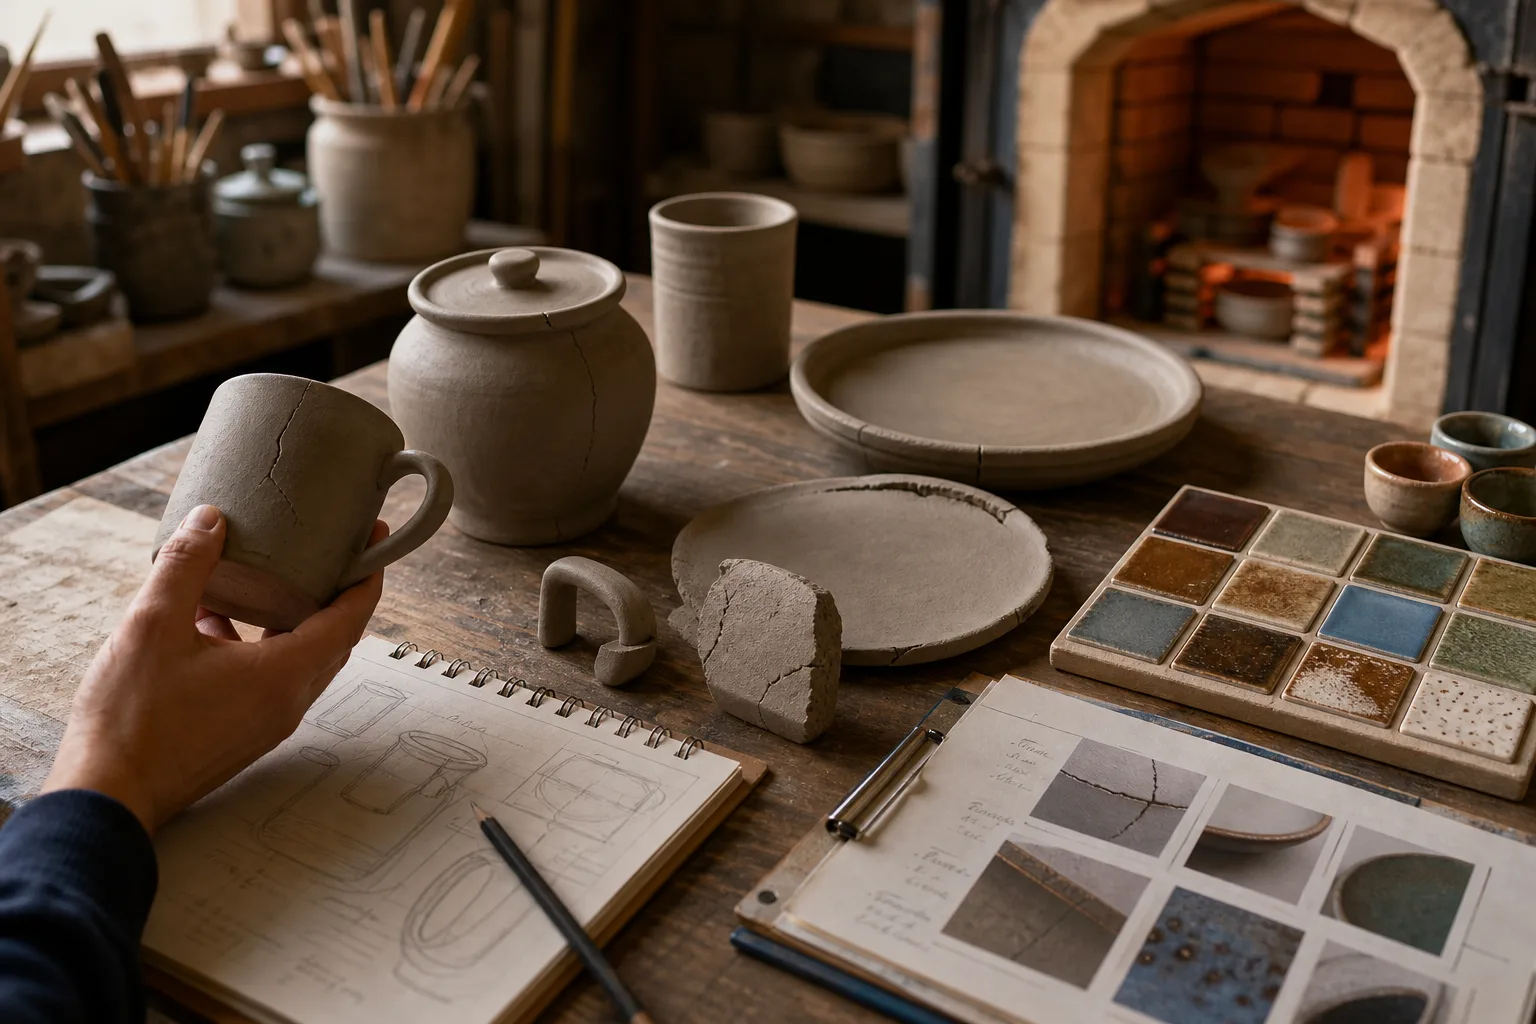
The most common firing mistake is to blame the kiln for every crack or color change. From clay to ceramic, that assumption can cost a batch of work and hide other causes, such as uneven drying, a thick join, or glaze application. Firing transforms the clay body, while the finished surface reflects several other choices.
A glossy surface does not tell you whether the clay beneath it has matured as intended. Clay bodies, glazes, kilns, and intended uses differ. Treat the exact material makers’ instructions as your starting point, and consult a qualified ceramics professional when a technical or functional decision is uncertain.
What changes inside clay during firing?
Wet clay contains water between its mineral particles. As it dries, that water evaporates and the piece shrinks. It may feel firm, but it is not yet ceramic; adding water can soften it again.
Firing drives off remaining moisture and changes the clay minerals. As the body matures, its particles bond more closely. This transformation is often called vitrification, though clay bodies become more or less vitrified within their own recommended firing ranges.
A fired pot can still absorb water if its body remains porous. A more vitrified body generally absorbs less, but a shiny glaze is not evidence that the clay underneath is fully vitrified. A matte surface does not, by itself, mean the body is underfired.
Why do pieces crack during firing?
Cracks often begin with uneven stress. A thick base and thin wall may dry at different rates; a handle can shrink differently from the mug it joins. Firing may expose these weaknesses, while heating damp or enclosed work too quickly can add stress.
A dry-feeling exterior does not prove that a thick section is dry throughout. Follow the clay and kiln makers’ drying and firing directions, especially for thick or enclosed forms. If the directions are unclear, ask a qualified ceramics instructor or kiln operator before firing.
Use visible clues to choose what to investigate next:
- Check whether one side is drying faster than the other. If it is, turn the piece or loosely cover it; if drying appears even, keep the current method and inspect other possible causes.
- Check whether a thick foot or join feels cool or damp. If moisture is uncertain, allow more drying and consult the material directions; if it feels uniformly dry, follow those directions rather than assuming a specific firing schedule.
- Check where a crack begins. If it follows a handle or seam, review how the parts were joined and compressed; if it crosses the body, inspect drying and clay preparation, then ask a kiln operator about firing conditions.
- Check whether the form changes abruptly from a bulky base to thin walls. If it does, make the next form’s transition more gradual; if thickness is consistent, investigate the join, clay preparation, or other causes.
- Check whether the work is thick or enclosed and whether its moisture is uncertain. If so, follow the supplier’s drying guidance and ask the kiln operator before firing; if the work is dry, use the schedule specified for that clay and kiln.
- Check whether the defect continues through an exposed clay edge. If it does, investigate the body, drying, and firing; if it is confined to glaze, begin with glaze application and compatibility.
Say a student has made a lidded jar with a thick foot and placed it near a warm window. The walls feel dry, but the foot remains cool and the sunny side has dried faster. The student moves the jar to a sheltered shelf, checks the clay maker’s drying directions, and allows it to continue drying. At the next check, the foot still feels cool, so the student delays firing and asks an instructor for guidance. The observable result is a clear decision: do not fire while the thick section’s dryness remains uncertain.
Why can a pot warp or slump?
A piece may deform if its clay body softens too much for the firing conditions, if its support is uneven, or if its shape cannot support itself as the clay becomes more plastic under heat. A broad, thin platter has less structural support than a compact bowl.
Check the firing range in the clay maker’s documentation and compare it with the kiln program. Before firing, check that the shelf is level and the piece sits steadily. If the clay repeatedly slumps despite suitable support, ask a qualified ceramics professional whether the body and firing schedule suit the form. Do not raise the temperature simply to make a surface look more finished.
What makes clay or glaze change color?
Clay color reflects its ingredients and conditions inside the kiln. Iron-bearing bodies, for example, can develop different tones under different firing atmospheres. A color shift does not automatically mean the clay has become a different material or that the firing failed.
Glaze adds more variables. Its ingredients interact with the body and kiln atmosphere; a color in a jar or on a sample tile may not match the finished piece. Application thickness and the shape of the work can change the appearance too.
When color surprises you, separate the variables. Compare an unglazed clay sample with a glazed one, and record the body, glaze, application, and firing schedule. If the change appears across the load, review the kiln program and atmosphere with the kiln operator; if it is limited to a glazed area, check the glaze maker’s application instructions first.
Why does a finish look rough, dull, or uneven?
Surface appearance is not a direct reading of how much the clay body has transformed. A matte glaze may be intentional, while a glossy one may level as it melts during firing. Unglazed clay can feel smooth or gritty depending on its ingredients and preparation.
A rough patch beneath glaze may come from dust, uneven application, or a glaze that did not mature as intended. A dull area may reflect a thinner coat or different cooling conditions. Pinholes and small craters can form when gases escape through glaze that has begun to seal. These surface defects do not, on their own, establish whether the body matured properly.
Examine the piece in good light and decide whether the flaw lies in the glaze or the clay beneath it. For a glaze issue, check the maker’s preparation and application directions before changing the firing schedule. A small test tile can help isolate a variable, but it does not replace the maker’s directions for functional ware.
How can you tell whether a problem comes from clay or glaze?
Look at the boundary between the surface and the body. If a defect continues through an unglazed foot or exposed edge, investigate the clay or firing as well as the surface. If it appears only in a glazed area, begin with glaze preparation, thickness, and compatibility.
Glaze fit depends on how glaze and clay contract as they cool. A glaze under tension may craze, forming fine lines; one under compression may flake from an edge. Appearance alone may not establish whether a defect affects use. Do not assume that a crackled glaze is suitable for food or drink.
For functional ware, follow the specific clay and glaze makers’ instructions for the intended use. Firing behavior, glaze fit, and suitability depend on the materials, kiln, and use. Ask the makers or a qualified ceramics professional if the instructions do not resolve your question. If suitability remains uncertain, keep the piece decorative rather than using it for food or drink.
What should you know about clay firing?
Can dry clay still contain moisture?
Yes. A dry-feeling surface does not prove that a thick section or closed form is dry throughout. Allow even drying, especially around bases, joins, and enclosed spaces, and follow the clay and kiln makers’ directions before firing.
Does a glossy glaze mean the clay is fully vitrified?
No. Glaze and clay body mature through related but distinct processes. Check the body’s firing range and the glaze maker’s directions rather than judging the clay by surface shine.
Should you increase kiln temperature to fix a dull finish?
Not without checking the glaze and clay specifications with the kiln operator. A dull surface may be intentional or linked to application; raising the heat can deform the clay or create new surface defects.
Why does one part of a piece look different from another?
Clay thickness, glaze coverage, kiln position, and exposure to kiln atmosphere can vary across a form. Compare the affected area with an unglazed section or suitable test tile, then check the likely variable against the makers’ directions.
How can you keep firing notes useful?
Keep a brief record for each batch. Note the clay body, glaze, drying conditions, kiln program, shelf position, and visible result. A notebook beside the kiln can help you distinguish the choices that changed between firings.
- Check whether the clay body and its firing range are recorded. If the material is unidentified, pause and identify it from its packaging or supplier before firing; if it is identified, compare the planned program with its directions.
- Check whether the glaze name and application directions are recorded. If the product cannot be identified, do not use it on functional ware and ask the supplier for guidance; if it is identified, follow its preparation and application instructions.
- Check the thickest or most enclosed part for uncertain moisture. If its dryness is uncertain, continue drying and ask for guidance before firing; if it appears dry, follow the clay and kiln makers’ directions.
- Check whether a crack follows a join. If it does, review joining and compression on the next piece; if it crosses the body elsewhere, inspect drying and clay preparation instead.
- Check whether the shelf is level and the piece sits steadily. If it is unstable, correct the support before firing; if it is stable but the piece may slump, ask a ceramics professional to review the form, body, and schedule.
- Check whether a defect appears only in the glaze or also in exposed clay. If it is limited to glaze, review preparation and application first; if the body is also affected, discuss the clay and firing conditions with the kiln operator.
Imagine a student has one identified clay body, one named glaze, and a lidded bowl whose thick foot still feels cool. The student writes those three starting observations in a kiln notebook, checks the clay maker’s drying and firing directions, and leaves the bowl on a sheltered shelf rather than loading it. At the next inspection, the foot still feels cool, so the student records that observation and asks the instructor before deciding when to fire. The resulting decision is to wait and seek material-specific guidance, not to alter the kiln program to compensate for uncertain drying.
From clay to ceramic, the lasting change happens within the body, while the finish records choices about glaze and firing. For the next batch, keep the material directions beside your notes and identify where a defect occurs before changing a kiln setting; that gives you a clearer question to take to a ceramics professional.